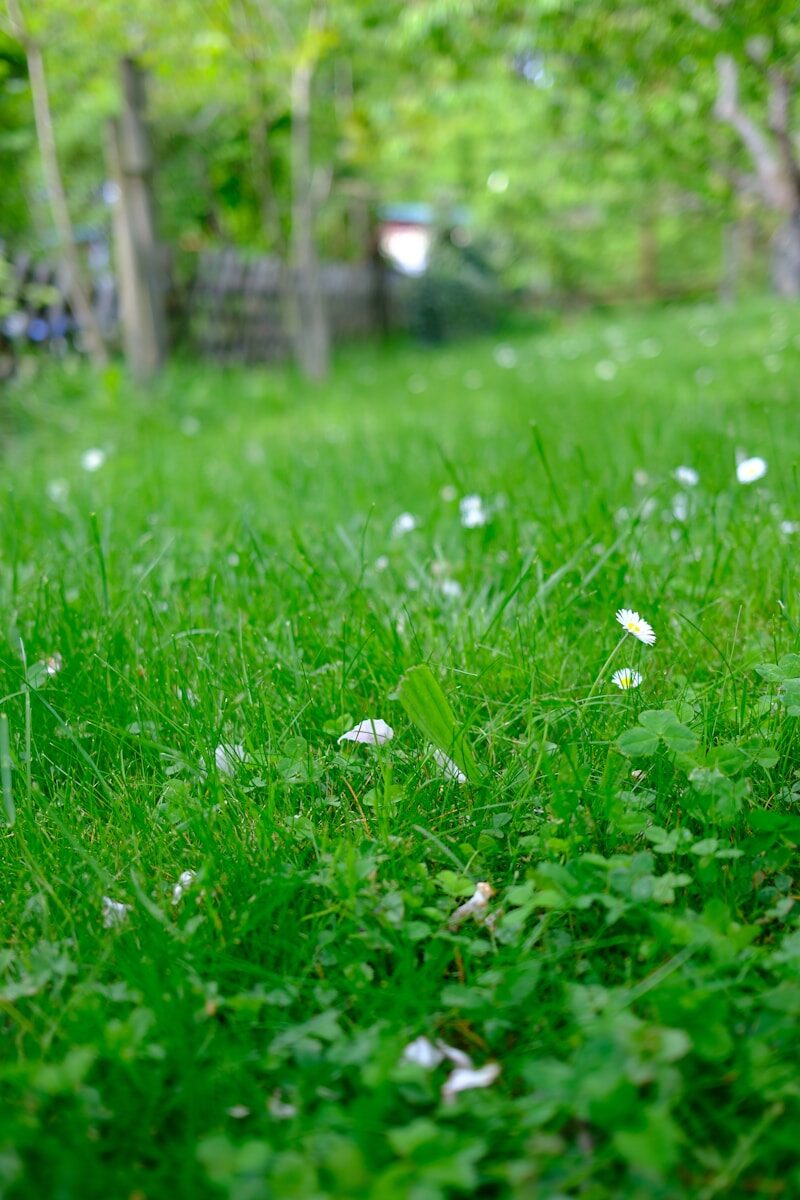
How To Remove Grass For A Garden Without Making A Bigger Mess
Turning grass into a garden bed sounds simple. We see a patch of lawn and think, “That would be a great spot for tomatoes.”
Then reality shows up.
Grass has roots. Some types spread by runners. Some come back after tilling. Some hide under mulch and wait. If we rush, we may spend the whole first season fighting grass instead of growing vegetables or flowers.
The good news is this: removing grass is not hard if we choose the right method for our time, energy, and budget.
Start With The Goal
Before you remove anything, decide what kind of garden you want.
A vegetable garden needs sun, water, and workable soil. A flower bed may need a clean edge and good mulch. A native plant bed may do best with slower soil prep and less digging. A raised bed may let you skip some hard work, but grass still needs to be blocked underneath.
Also check sunlight. Most vegetables need at least six hours of sun. Many need more. If the grass patch is shady all day, it may not be worth the trouble for tomatoes or peppers.
Then check water. A garden far from a hose can become a chore fast.
In other words, do not remove grass just because the space is open. Remove it because the space can support the garden you want.
Method One: Dig Out The Sod
This is the fastest clean method.
Use a sharp spade or a sod cutter. Cut the grass into strips. Slide the blade under the roots. Lift the sod like a rug.
This works well if you want to plant soon. It also removes a lot of the grass roots right away.
But it is hard work. Sod is heavy. Wet sod is even heavier. If you have a large space, your back will notice.
The upside is speed. You can remove sod, loosen the soil, add compost, and plant much sooner than with smothering methods.
The downside is soil loss. When you remove sod, you remove some topsoil with it. Shake off extra soil if you can. Compost the dead sod only after the grass is fully dried or broken down, especially if it spreads by runners.
Method Two: Sheet Mulch With Cardboard
Sheet mulching is slower, but it is easy on the soil.
First, mow the grass short. Then cover it with plain cardboard. Overlap the edges so light cannot sneak through. Wet the cardboard. Then add compost and mulch on top.
The cardboard blocks light. The grass weakens and dies. Over time, the cardboard breaks down and adds carbon to the soil.
UC Davis calls cardboard sheet mulching an inexpensive lawn removal method that does not require chemical sprays or plastic. Clemson also notes that cardboard can block light and kill most vegetation when starting a new planting area.
How Long Can Red-Eared Sliders Go Without Food? What Turtle Owners Should Know. This method is great if you can wait. It is also good if you want less digging.
But timing matters. If you want to plant tomorrow, cardboard is not magic. You can cut holes and plant through it in some cases, but tough grass may still push back.
For best results, start in fall for spring planting. Or start several months before you need the bed.
Method Three: Solarization
Solarization uses clear plastic and heat.
You water the area, cover it tightly with clear plastic, seal the edges, and let the sun heat the soil. The heat can kill grass, weeds, and some weed seeds near the surface.
The University of Minnesota Extension explains that solarization uses clear plastic to heat soil, while occultation uses opaque covers to block light.
Solarization works best in hot, sunny weather. It is weaker in cool seasons or cloudy areas. It also requires plastic, which some gardeners do not love.
Still, it can be useful if you have a sunny patch and time to wait.
Method Four: Occultation Or Tarping
Occultation is a fancy word for covering plants so they cannot get light.
Instead of clear plastic, you use a dark tarp, silage tarp, or other opaque cover. The grass keeps trying to grow, but it cannot photosynthesize. Over time, it dies.
This method can work well for no-till gardeners. It preserves soil structure and avoids bringing up buried weed seeds.
But it takes patience. It may need several weeks or months. Tough perennial grasses may need longer.
Use weights around the edges. Wind loves loose tarps. Boston Guildhall and St Mary’s Guild: A Merchant Town’s Long Memory.
Method Five: Raised Beds Over Grass
Raised beds are a popular shortcut.
You can mow the grass short, lay cardboard, place the raised bed frame, and fill it with soil and compost. The cardboard helps block the grass. The depth of the raised bed gives roots room to grow.
This can work well for vegetables.
But do not skip the grass barrier. If you put shallow soil right over live grass, the grass may grow through. Bermuda grass and other aggressive grasses can be especially stubborn.
For best results, use thick cardboard, overlap seams, and fill beds deep enough for your crops.
Be Careful With Tilling
Tilling sounds fast. Sometimes it is.
But tilling live grass can chop roots and spread them. With certain grasses, that can make the problem worse. It can also bring buried weed seeds to the surface.
If you till, remove as much grass as possible first. Let clumps dry out. Then rake them away.
Burghley House: Elizabethan Grandeur With Gardens That Refuse to Behave. Tilling can help in a rush. But it is not always the cleanest long-term answer.
What About Herbicide?
Some gardeners use herbicide to kill grass before planting. Others avoid it.
If you choose that route, read the label and follow it exactly. The label is the law. Pay attention to waiting periods, wind, nearby plants, pets, water, and vegetable garden use.
Do not spray just because it feels easier. A garden is a place where we grow food, flowers, and life. It is worth being careful.
If you want a no-chemical approach, cardboard, tarping, digging, and raised beds can all work.
Do Not Forget The Edges
The edge is where grass sneaks back in.
After you make the bed, install a border or cut a clean trench. Grass roots and runners love open soil. A sharp edge helps you see invaders early.
Mulch also helps. Add two to three inches around plants, but keep it off stems and crowns. Mulch blocks light, holds moisture, and makes new weeds easier to pull.
Then check weekly. Pull grass while it is young. A five-minute pull now can save an hour later.
A Simple Plan That Works
For a small vegetable garden, this is a good path.
Pick a sunny spot. Mow low. Mark the bed. Dig out the sod if you need to plant soon. If you can wait, lay cardboard and mulch. Add compost. Keep the bed moist but not soggy. Plant when the grass is dead or blocked well.
For a raised bed, mow low, lay cardboard, set the frame, fill with soil, and plant.
For a native or flower bed, consider sheet mulching in fall, then planting later.
Cleethorpes Seafront: Sea Air, Simple Pleasures and a Better Day Than Expected. The best method is the one that fits your schedule.
Where The New Bed Begins
Removing grass is not just the first chore. It is the first choice your garden asks you to make.
Do you need speed? Dig the sod. Do you want easy soil care? Sheet mulch. Do you have hot sun and time? Solarize. Do you want raised beds? Block the grass first.
Once the grass is gone, the fun part starts. We add compost. We plant. We water. We watch roots settle in.
And with a little edge care, we do not have to fight the lawn every week.
We just get to garden.
Turning grass into a garden bed sounds simple. We see a patch of lawn and think, “That would be a great spot for tomatoes.” Then reality shows up. Grass has roots. Some types spread by runners. Some come back after tilling. Some hide under mulch and wait. If we rush, we may spend the whole…
Turning grass into a garden bed sounds simple. We see a patch of lawn and think, “That would be a great spot for tomatoes.” Then reality shows up. Grass has roots. Some types spread by runners. Some come back after tilling. Some hide under mulch and wait. If we rush, we may spend the whole…